Cast Iron - why this new "thinner" kind is my favorite

cast-iron There is nothing new about a cast iron skillet, but some people are wary of them because they don't know how to care for them.  They keep them around though in case they need a weapon!  LOL!  I remember the cartoons where they knock someone out with one of those heavies!!  Well, maybe after reading this... you'll use it for cooking!  Cast iron HATES soap and some people ignore this and that leads to trouble.  They end up with pans that stick and rust.  Soap takes the "seasoning" off the pan, stripping it.  If this happens, you will need to "re-season" your pan... and this can be done pretty easily.  Most pans these days come "pre seasoned" and will say so if they are.

The best way to clean your pre seasoned cast iron is to simply wash it with HOT water right away after using it.  Use a stiff bristled brush to get the food bits off, not anything like steel wool that will scratch the seasoning off.  Dry it THOROUGHLY with a dish towel or paper towel.  Put some oil, I personally use coconut oil, in the pan and rub it in the bottom and sides well.  Put the pan away, you're done!  If food does get dried on, you can put some water in it to cover the food and boil it on the stove.  Once hot, scrape the food bits off.  Don't use metal utensils in cast iron, use wood or something that won't scratch.

If you find that you need to re-season...here's how:  Scrape off any rust and food bits. you can use dry course salt, even sandpaper...just get it all off.  Dry the pan well with a dry dish towel or paper towel.  Preheat the oven to 250 degrees.  Coat the pan thoroughly with Crisco.  Some people say that other cooking oils work, maybe so...but Crisco definitely works.  Coat it so you can see the white Crisco a bit, don't completely rub it in...put it on pretty thick, outside and inside.  Put it in the oven for about 15 minutes, this will give it enough time to melt.  Take it out and pour out the excess.  Wipe it out with a paper towel to get he excess off the pan...rub it in.  Put it back in the oven, some say upside down, but I personally don't think it matters.  Leave it in the low temperature oven for 2 hours.  Anywhere between 225 and 275 degrees will work.  Turn off the oven and let it cool in the oven.  That's it!  It should be brought back to it's shiny black glory days!  You can repeat this process up to three times if you need to.

So, I've had the larger (12") of the two cast iron skillets in the picture for quite some time, I've only had to re-season it once.  My mom had one like this kind as I was growing up.  I use it all the time and love it when I need a bigger pan.  About six months ago I got a new, smaller one (10") that is different than any of the other cast iron pans I'd seen before.  It's a great size, perfect for eggs and searing scallops!  It's MUCH thinner than my other larger pan...

thin-cast-iron

Because it's a little smaller and so much thinner....

thinner-lighter-cast-iron

It's not nearly as HEAVY!  Also, it heats up nice and quick because it's thinner!  I love these pans because they are healthy to cook in and heat evenly.  I have three cast iron pans, (the third is smaller, 8", but the thick variety...I hardly use it since I got this newer one).  All of mine are made by Lodge and came pre seasoned.  They've been super easy to care for as long as I follow the rules above.  Ever since I cooked scallops in my newest one, it got "lighter" colored in the center...but seems fine.  I plan to re-season it soon to see if it'll help.  If you care for these babies correctly, they'll last for generations!

I happened to find this newest version at Bass Pro Shop!  I was there because it's one of my husband's favorite stores!  I was buying a splatter screen and saw this pan and had to have it!!  Glad I came across it!  Besides my Le Creuset, of course, it's my favorite pan! :)

Super Easy Shrimp & Salad

shrimp-and-salad The other night I was a little crunched for time and needed to whip something together for dinner and I realized I hadn't planned for anything!  I had been to Costco recently and I had a container of their Cilantro Lime Shrimp from their deli area... I love keeping those TASTY shrimp around for when hunger strikes or moments like this!  I skewered the shrimp and my husband threw them on the grill!  I made a salad with mixed greens, kale, arugula, goat feta, beets (also from Costco...called "Just Beets" in the deli...easy and delicious), cherry tomatoes and avocados.  I dressed it lightly with some balsamic and olive oil!   For how good it looked and tasted it was SUPER easy, so I thought I'd share with you.   My husband always grumbles a little bit when we have seafood, but he LOVED it...even talked about it the next day, how much he enjoyed the shrimp that way!  Paleo success!!

Killer Curried Chicken Thighs

curriedchicken Recently we had some friends over last minute and they ended up bringing food and cooking, which they often do!....we  had these amazing chicken thighs that were so flavorful.  They are seasoned with a curry "rub", but I wouldn't have known it was curry...

I asked him for his recipe... this is it!  Thank you Dr. Shawn!  These chicken thighs are SO delicious!  I had always been a chicken breast girl... until now!!

You will need:

  • boneless, skinless chicken thighs
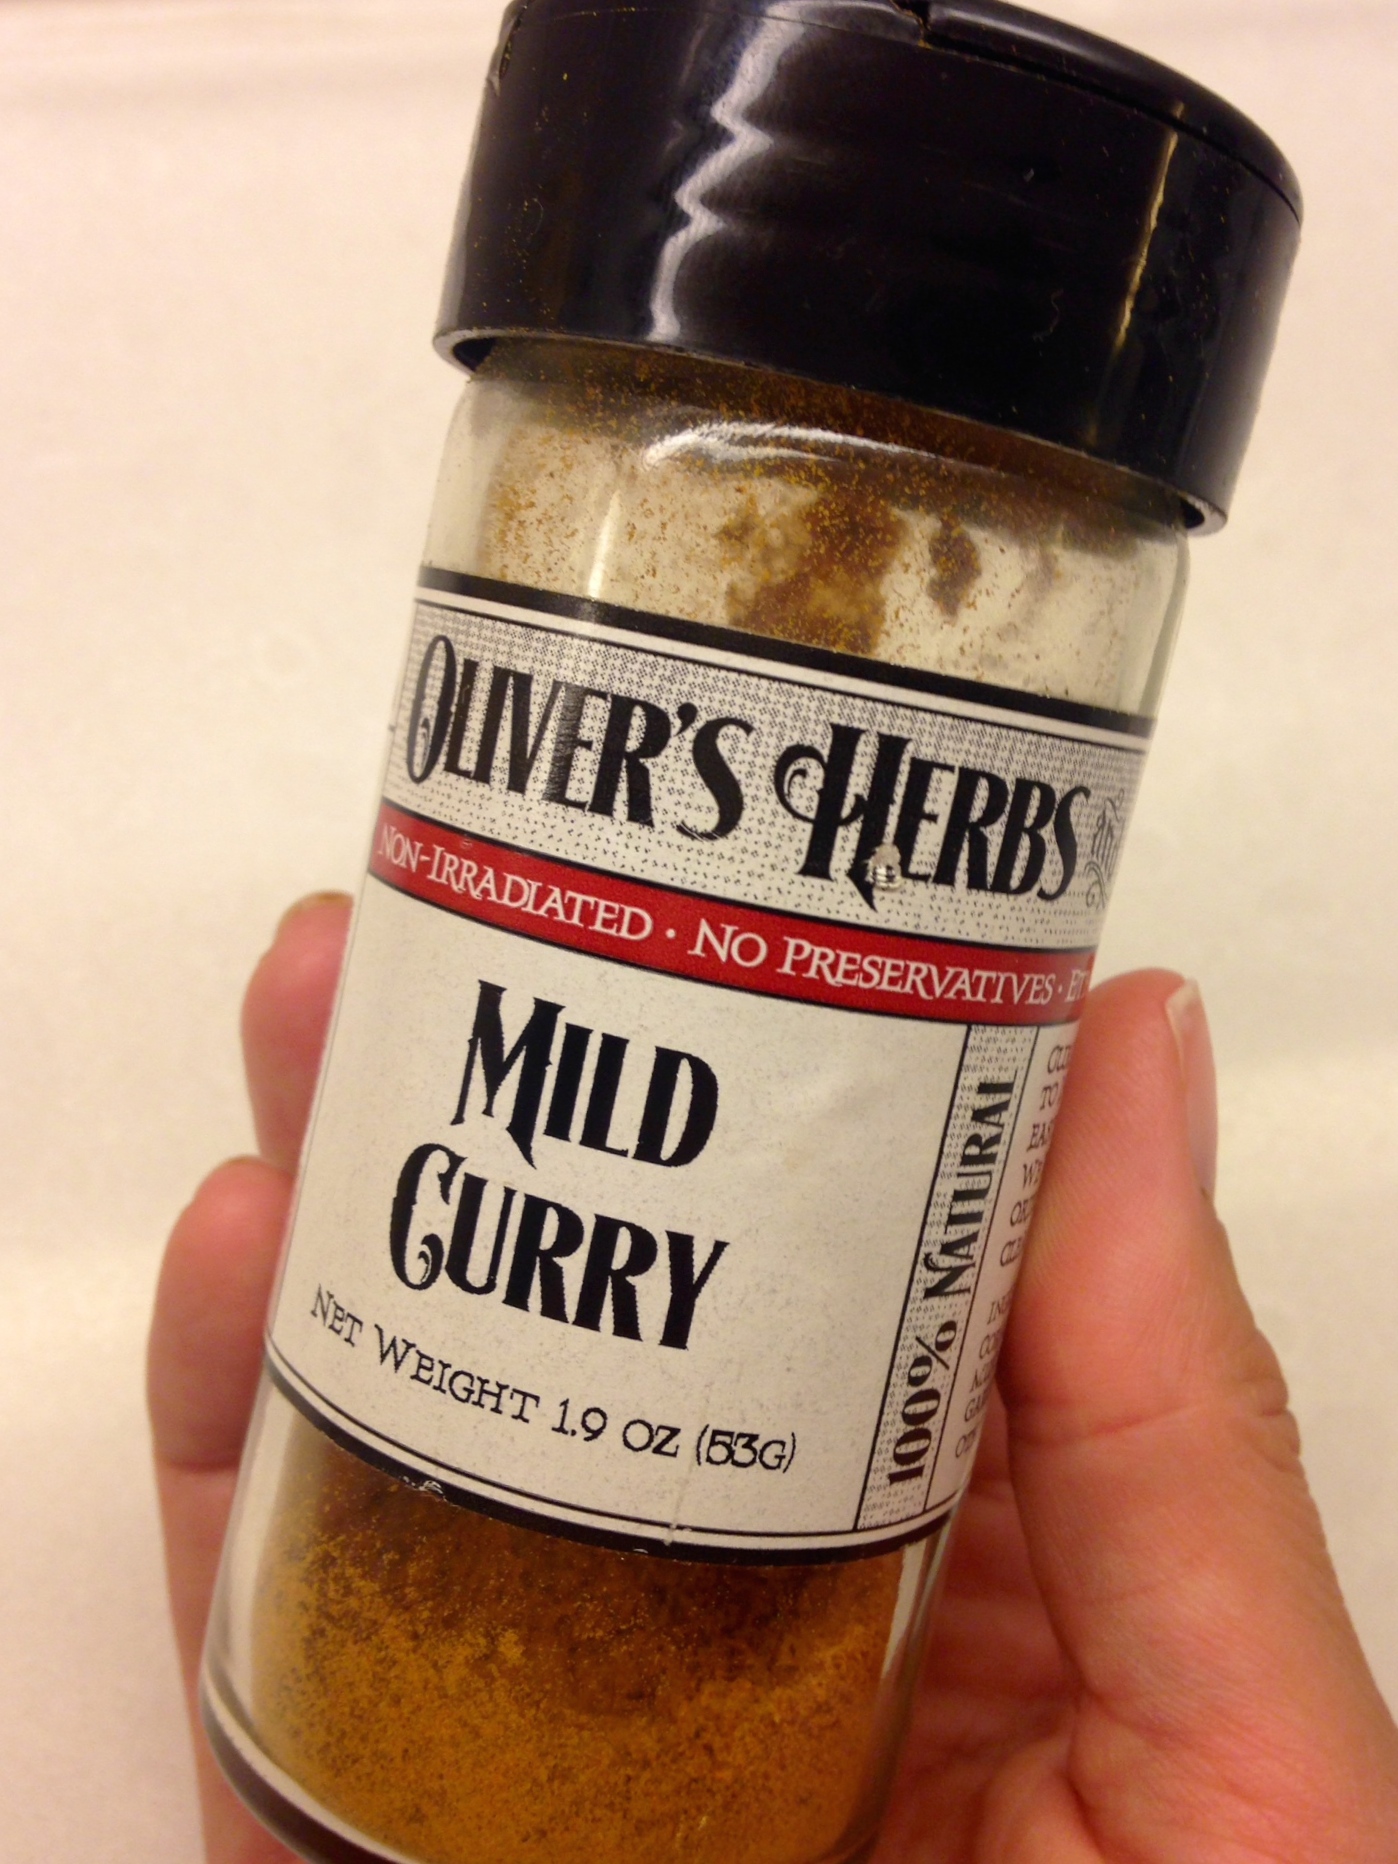
  • mild curry (a good quality one)
  • sea salt
  • pepper
  • olive oil

Rinse the chicken thighs and pat dry.  Spread them out on a baking sheet so they are in a single layer.  Season liberally with sea salt, pepper and curry powder.  Make sure to ENTIRELY cover easy side with the spices.

IMG_3382

Let the dry rub sit on the chicken for 1 hour to overnight (less salt if overnight).  When ready to cook, drizzle with olive oil and rub or put into a gallon ziplock and rub.  Let chicken come to room temperature if you had it in the fridge overnight.  BBQ the chicken for 20-30 minutes, turning every 5-10 minutes.  It's hard to overcook thighs. ;)  I served a green salad with this.... but he said it's amazing with a cucumber salad.  I'll be trying that the next time I make these!

By the way, these were even amazing cold the following day!  I had one for lunch!

How to make perfect Soft Boiled Eggs

softboiled I'm bringing back the Soft Boiled Egg!!  Our generation has let the soft boiled egg become extinct and I'm here to give it the "comeback" it deserves!  My mom used to make them.  My husband's grandpa ate them.  I have a friend who told me that her grandfather used to eat them daily... but these days when I ask people about it, they've never tried them, let alone tried to make them.

I remember liking them when my mom would make them for me, it wasn't that often, so I remember it was a special treat for breakfast.  But it wasn't until this past year that I attempted making them myself... one day, I asked my husband if he liked them.  He said..."No".  Well, I guess I wasn't willing to give up that easily because I made them for him anyway!  It's funny how sometimes you realize how well you know your spouse.  I knew that his "No"... actually just meant he'd never tried one.  Well, since that day it has become one of his very favorite things to eat for breakfast.  True story.

Here's why I think soft boiled eggs aren't more popular today... we don't sit down, relax, and enjoy food the way our grandparents did.  Back in their day, they didn't overeat, so a soft boiled egg and a slice of toast was plenty.  Food was enjoyed in a more ritualistic way, so preparing the egg in the little cup with the little spoon was exactly that...a ritual.  They took their time.  In today's day and age, one or two soft boiled eggs just doesn't cut it!  When the "Grand Slam" and the "all you can eat" breakfast buffets came around, the soft boiled egg just couldn't compete!!  Then we heard that eggs were on the "no no" list of foods that would make our cholesterol shoot up...leading to heart attacks... that poor soft boiled egg didn't stand a chance!

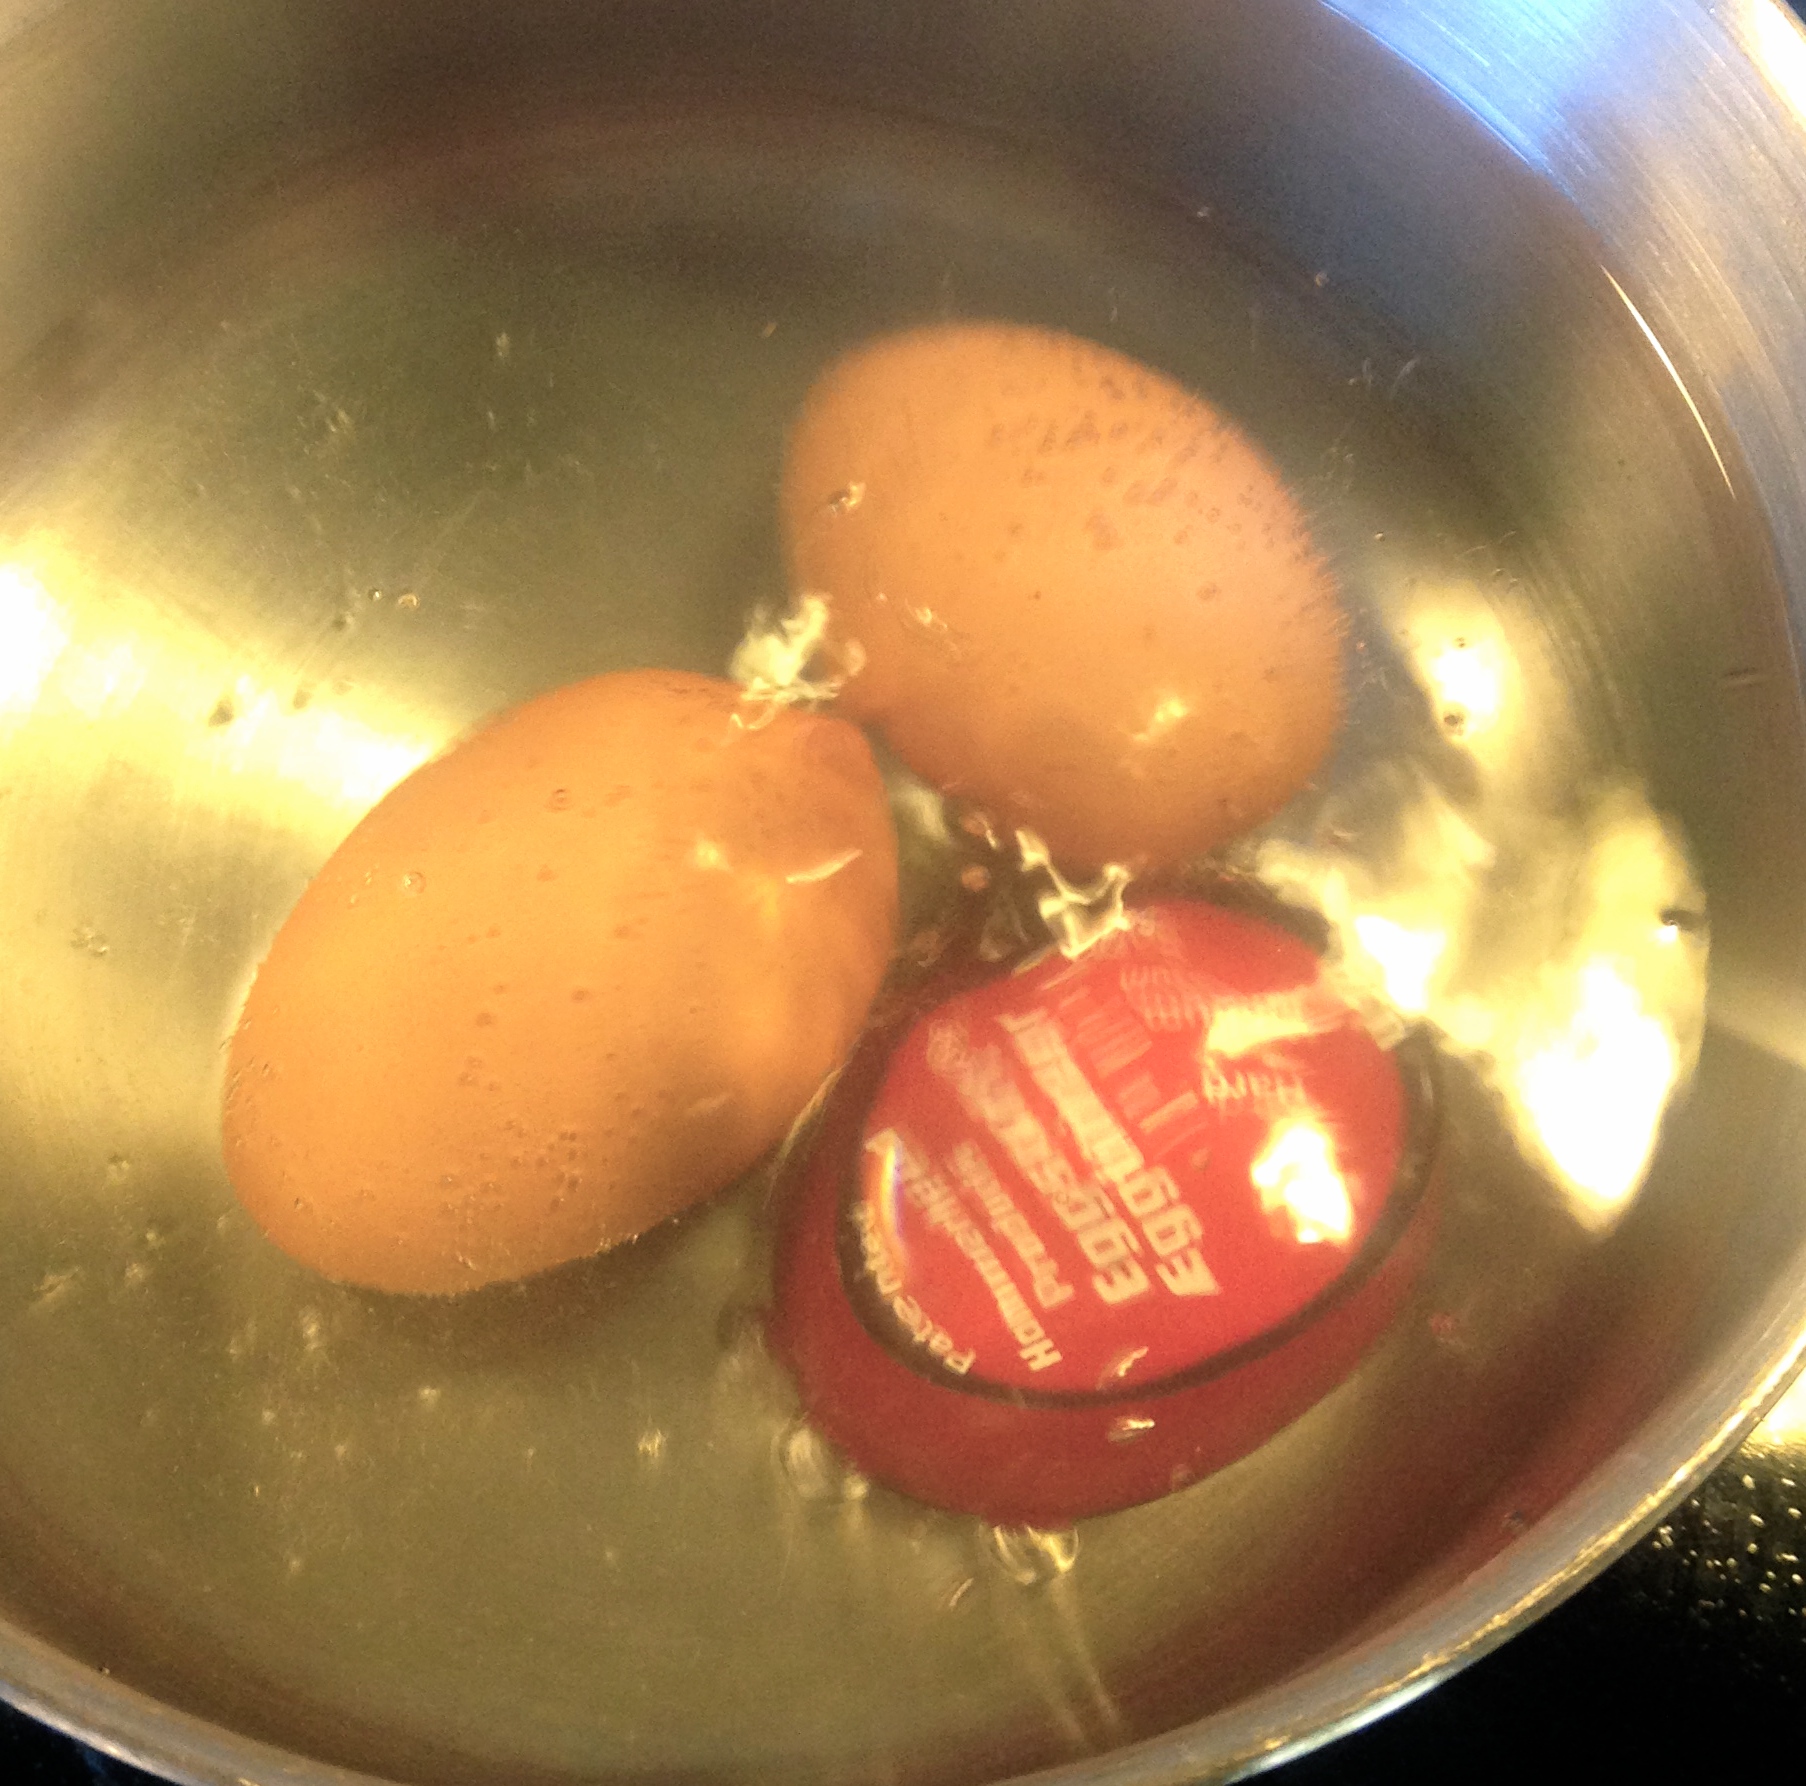
At least we now know that the egg got a bad rap and is back on the "healthy" list.  I know that the scary part about trying soft boiled eggs is... how do I make them??  I got this great gadget that takes the guess-work out of it!!  The "Eggsact Egg Timer".

IMG_3332

It's the size of an egg, shaped like an egg, and you just treat it like the other eggs you are boiling!  You fill a pot to cover the eggs with cold water and put this in the water too!  Bring it to a boil... no need to set a timer!!  When it starts to boil, turn it down a bit so that it's bubbling a little, but not BOILING rapidly.  You will start to notice a dark ring forming on the edge of the red.

IMG_3339

Depending how you like your egg.... soft, medium (or hard, if you're hard boiling eggs), when the dark ring reaches that line, it's done!

IMG_3342

Quickly take the eggs out with a slotted spoon (I use my pasta spoon because it's slotted and cradles the egg nicely) and put them in an ice water bowl to stop them from cooking...roll them around for about 30 seconds.  Dry them off.

IMG_3341

Now, if you want to make them look pretty, get yourself some cute egg cups!

IMG_3344

Here's the tricky part that takes some practice.... take a butter knife and "whack" the side of the egg, near the top with the sharpest edge.  Once it cracks, peel the cap back so that it opens up...the whites should be firm, the yolk should be slightly runny for a traditional "soft boiled".

IMG_3352

Scoop the egg out of the egg "cap" (top) and discard the shell.  You can put the "hat" back on the egg or on the side.  You'll need a little smaller spoon to eat the egg directly out of the shell like a bowl... or you can just scoop it all out onto toast.... but I don't do that part since going Paleo, but that's goooood ;)  I've even seen toast sliced into strips for "dipping" in the egg!...Great for kids!  Season with salt and pepper and that's it!!

IF they don't turn out perfectly the way you like...too hard or soft, just make sure the dark line is slightly more or less next time!  Once you get it just right...you'll know exactly how you like them from then on!

IMG_3358

IMG_3359

My husband always shares one of his egg caps with "Stella", she LOVES her egg caps! :)

IMG_3160

You can find this great egg timer gadget at kitchen stores and online!  It takes up no space and is inexpensive!  It's funny how many gadgets they actually sell to help you out with soft boiled eggs.... they also sell an egg top "cutter" so you don't have to whack it with a knife!!  I have not tried that.... yet.

Share this with your friends and help bring back the poor Soft Boiled Egg.  It's a "fancy" little breakfast that deserves a comeback.  Make it a "ritual" for you and your family...they'll remember it. :)  On days you have the extra time... do it the way they did it back in the day... get out the nice dishes, take your time, make some tea, and slowly enjoy an egg for a change.  It's good for your waistline too!