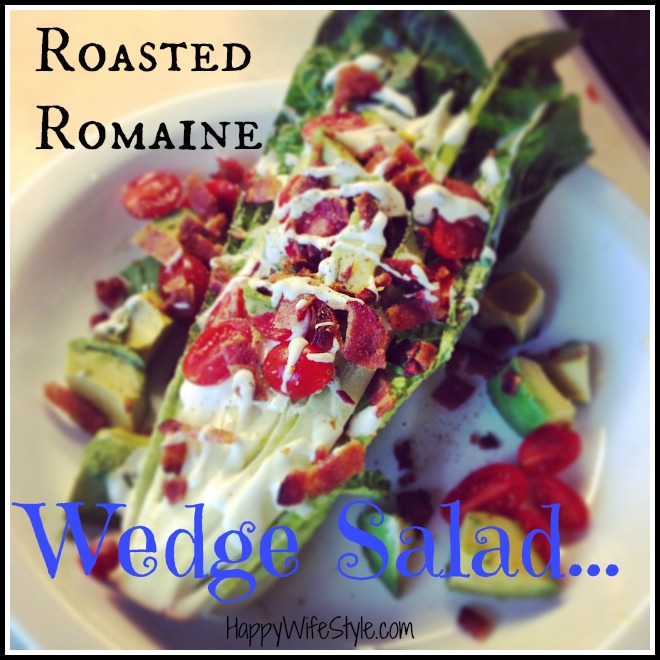
Roasted Romaine Wedge Salad

wedge-salad Last weekend my friend Danyel told me that she roasted romaine for a wedge salad and said it was amazing!  I remembered that I had ripped a recipe for this out of a magazine a while back because it looked amazing!  Last night I gave it a try...and it was amazing!

I cut romaine heads in half, lengthwise.  Leave the stem intact so it holds together.  Rinse and dry.  Get your salad toppings ready.  Use whatever you like!  I happen to LOVE a classic "wedge" salad, so I decided to do a variation of that.  It's usually made with a wedge of iceberg, bacon, lettuce, tomato and blue cheese dressing.

I cooked some bacon so it was fresh and chopped it up.  I got my other ingredients ready...of course I added some avocado!  Good fats!

IMG_3394

Heat a grill pan to high.  Drizzle the center of the lettuce with a little olive oil and put in face down on the hot pan for about one minute, until lightly charred.

IMG_8258 IMG_1277

After a minute, it will have grill marks...take it off the heat and put it face up on a plate.

IMG_6962

I topped my wedge salad with halved cherry tomatoes, diced avocado, crumbled bacon, a little salt and pepper, and dressing of your choice.  For this wedge salad I used homemade dairy free ranch dressing and added some goat cheese crumbles for texture.  Serve it whole with a knife and fork!  My husband said he could really taste the "roasted" flavor of the romaine and thought it was great!  Great for a light lunch or dinner....a very pretty presentation!  You can add any toppings you like, add diced chicken to this one if you want a little more substance.

I think the next time I make this I'm going to try this variation....Roasted Veggies:  sliced portabella mushrooms, orange bell pepper slices and red onion.   For the dressing, I'm going to use balsamic vinegar, olive oil, a little spicy brown mustard and salt and pepper to taste.  I'll top it off with goat feta and some chopped almonds!  I'll update this post with pictures when I make it if it's good!  If there are any other yummy toppings that you use, feel free to share!!

Stuffed Zucchini Boats

Zucchini-Boats These are seriously tasty and very healthy!  Impress your friends with this delicious and beautifully presented dish.... and it's SO easy and can be made ahead of time!

Trust me, this serves 4, but you'll want to double the recipe!  Preheat oven to 350 degrees.

You will need:

  • 2 medium zucchini
  • 3/4 grass-fed ground beef (ground turkey, or any quality ground meat will work)
  • 1/2 small onion, chopped
  • 1/2 cup fresh mushrooms, chopped
  • 1/2 cup sweet red peppers, chopped
  • 1/2 cup green peppers, chopped
  • 1 cup of raw cheese or goat cheese, shredded (today I used a mixture of goat cheddar and sheep Pecorino Romano which is kind of salty like parmesan...I used to only find it at Whole Foods and now they have it at Trader Joe's!)
  • 2 Tablespoons Tomato Paste - if you make your own, great, otherwise get a good organic canned one.
  • 1/2 teaspoon salt
  • 1/4 teaspoon pepper

Wash the zucchini and trim the ends off.  Cut them in half, lengthwise.  Scoop out the pulp, leaving 1/2 inch shell.  I use a sharp spoon because it fits perfectly...keep the pulp!

IMG_9556

Butter or grease a baking dish - 8 x 8  or  9 x 13 depending on how many you're making.  I love this coconut oil spray...

IMG_5974

Place the zucchini shells in the dish...

IMG_0388

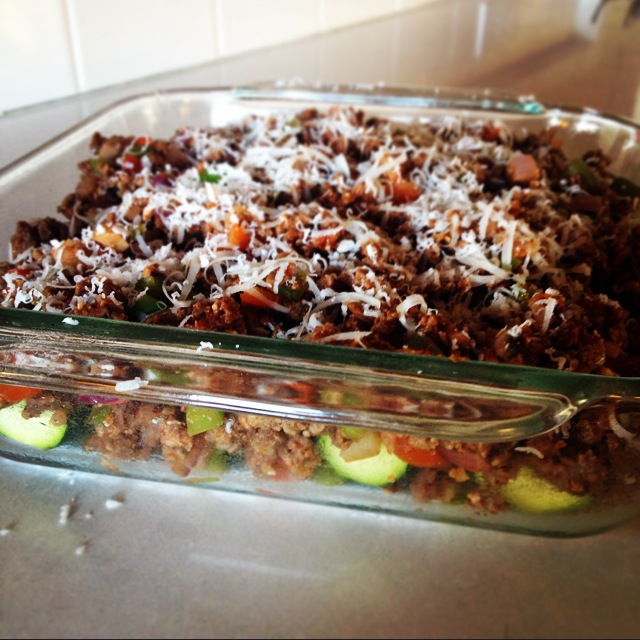
Finely chop the pulp from the zucchini.  Brown the meat in a skillet along with the pulp, onion, mushrooms and peppers until browned.  Drain the fat.  Remove from the heat.  Add 1/2 cup cheese and the tomato paste, sea salt and pepper.  Mix well.  Spoon the mixture into the zucchini shells, packing it in each one and then adding the remainder over the top...it's okay if the filling covers the shells...the extra is good!!  Sprinkle with the remaining cheese.

IMG_6898

Bake uncovered for 30 minutes.  Try to keep the boats upright when serving;)  It can be a little tricky, if you need to, cut them in half and they'll be easier to serve.  Enjoy!!

Oh, by the way....I've made these stuffed zucchini without the cheese and I must admit, with this one....cheese makes it SO much better, so go for it!  :)

Homemade Roasted Chili Salsa

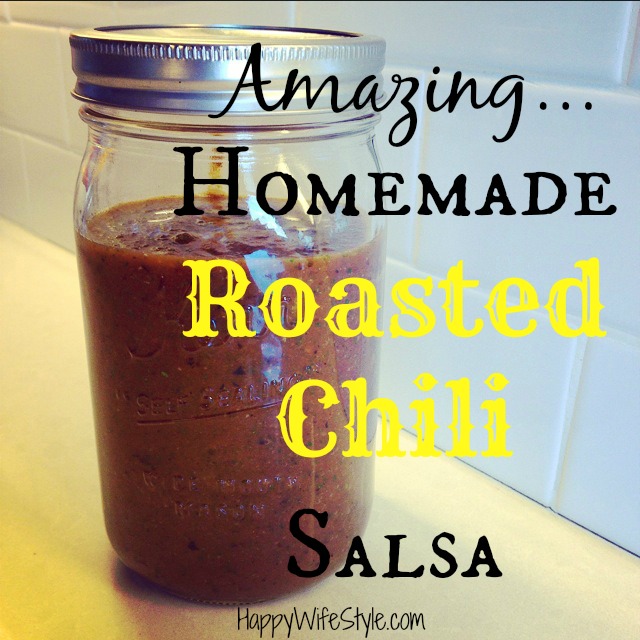
roasted-chili-salsa I've been making this homemade roasted chili salsa ever since a friend came over and taught me how...about 3 years ago.  It has a special ingredient that makes it taste AMAZING...different than any other salsa I've tried.  It's so easy to make and tastes SO fresh!  It's SPICY, but you can control the heat by how many chilies you think you can handle!  :)

Here's what you'll need...

IMG_1093 IMG_2326

  • 1 15 oz can good quality tomato sauce...I get the "no salt added" one so I can control the salt to taste OR if you have homemade, great!
  • Water - 1/2 a can (above)
  • White onion - about 1/3 of one
  • Juice from 1 lime - if you don't have a juicy lime, you may need more to taste
  • Cilantro - about 3/4 of one bunch
  • Minced garlic - 2 spoonfuls, again you can adjust to taste
  • Sea salt - to taste, I usually end up adding more after tasting it!
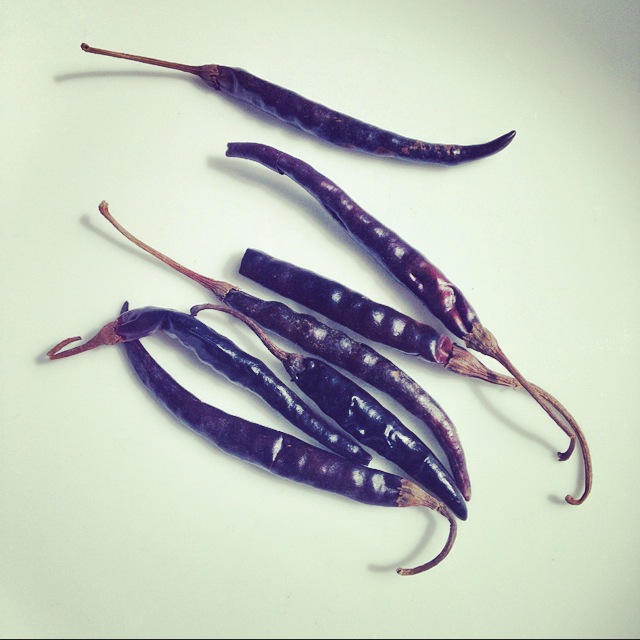
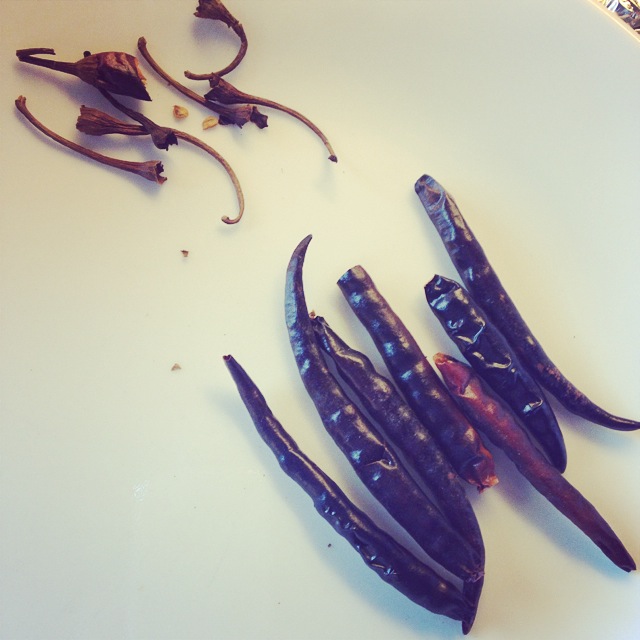
  • 3-6 Roasted Arbol Chili Pods - secret ingredient!  These can be found in any grocery store in the Mexican food section/spice section

Ok, so the only tricky part of this recipe is getting the chilies roasted.  At first, I tried doing this in the house and it can be a little dangerous!  I'll tell you why...I promise, after you master this step, the rest is easy-peasy!

All you do is put them in a dry pan on med-high heat and roast them until blackened, easy....but here's the catch... you can't breathe in the fumes that come off of them!  These chilies are HOT and if you breath in around these babies while they are on the heat, you will cough....and cough...and cough.  I know this sounds crazy, but trust me on this one.

My friend warned me of this, but I thought...how bad can it be??  That first time wasn't fun, I should've listened.  The next time, I put a handkerchief over my nose and mouth and ran in, checked on them, ran outside.  Held my breath an ran in, turned them, ran outside.  You must think I'm crazy by now, but I'm telling you...this salsa is AWESOME...well worth looking like a crazy burglar running in and out of your house!

Now, I have a better way....I make my husband do it.  Outside.  Bam!  Solution Creator!!!  I just give him the chilies on some tinfoil and he knows what to do!  He throws them on the grill...knows not to breathe deeply while turning them...and brings them to me nicely roasted;)  Being outside makes it way less intense.

IMG_6127 IMG_8189

I've even roasted extra and stored them in a baggy...works great!!  Once they off the heat, they're safe;)  Pull off the stems like this...

IMG_5060

Usually, I use about 5 chilies...I did a couple extra in case I needed them.  Start slow...this salsa is spicy!  Try 3 to start, you can always add more.

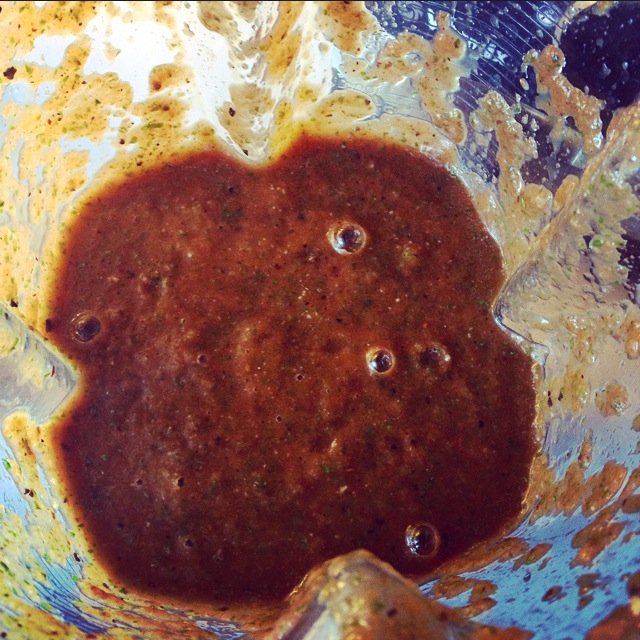
Put all of the ingredients from the list above in a blender and mix!

IMG_5063

Taste, adjust the salt.  Taste, adjust anything else until it's just right!  Let it sit a while in the fridge before serving it...it gets better and better as all the flavors mingle together for a while...my husband always says that... "It gets better and better!!"

IMG_5061

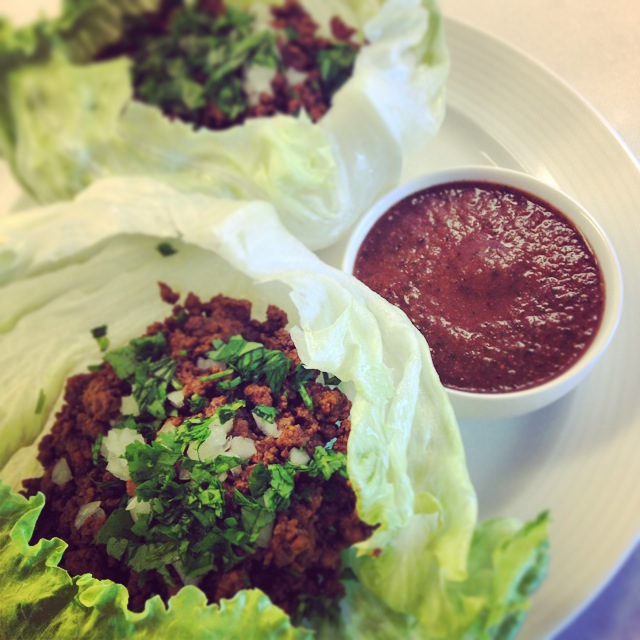
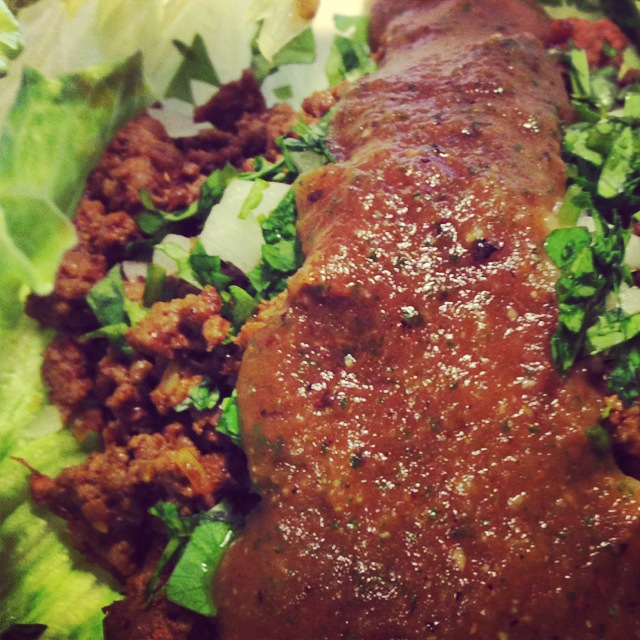
This salsa is my absolute favorite....great on eggs, great as dip, great on tacos!!!  That's what I did with this last batch!!  SO good!

IMG_3245

I just made taco meat the way I used to when I ate tortillas....chopped up my extra white onion and cilantro and put it in lettuce cups!  Deliciously Paleo!!  Whenever I've made this salsa for guests, they LOVE it.  Roasting those chilies give it that thing that makes you go Mmmmm.  :)

IMG_5064

Also, delicious and satisfying with roasted plantains... they're not sweet like banana chips, salty like chips!!!  Yum!  I hope you try this one...you won't regret it!

IMG_5053